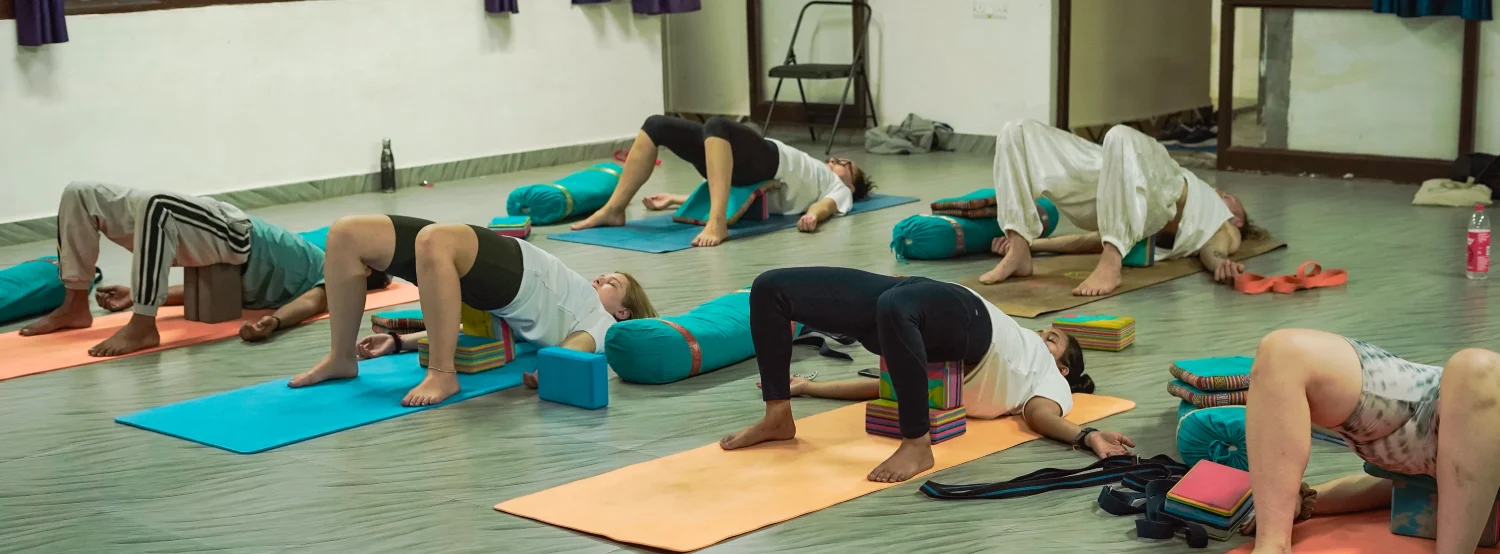
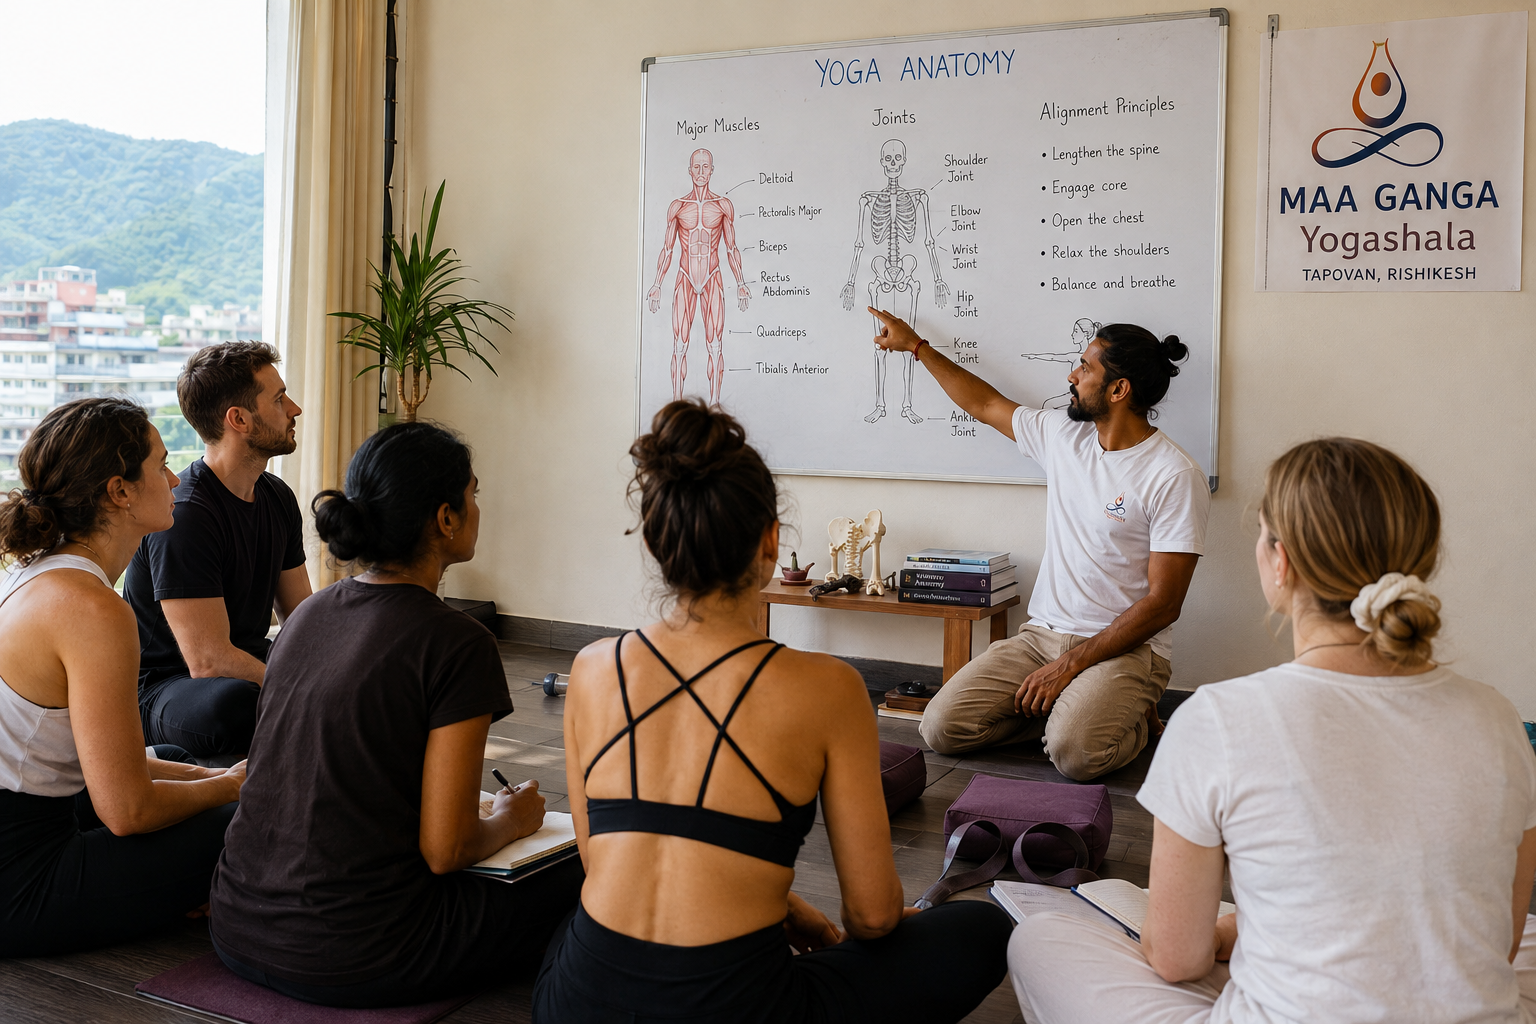
Yoga Anatomy Muscles Joints Alignment Teachers: A Complete Guide
Have you ever wondered why the same yoga pose feels completely different in two bodies? Understanding yoga anatomy muscles joints alignment teachers work with can explain much of that difference and help you teach with greater confidence.
A posture may look perfect from the outside while creating unnecessary strain for a particular student. Another student may look slightly different from the textbook version yet perform the movement comfortably and effectively.
That is why anatomy matters.
When you understand how muscles create movement, how joints allow or restrict motion, and how individual structure affects alignment, you stop treating yoga poses as rigid shapes. You start observing movement, asking better questions, and making safer teaching decisions.
In this guide, you will explore the practical anatomy behind common yoga movements, the relationship between muscles and joints, why alignment should be functional rather than purely visual, and how anatomy knowledge can strengthen your teaching practice.
Why Yoga Anatomy, Muscles, Joints and Alignment Matter for Teachers
Yoga teachers do not need to become medical professionals. But you do need enough anatomical understanding to recognize how movement works and where a posture may become inappropriate for an individual student.
Your body moves because muscles contract and relax across joints. Bones provide structure, joints provide movement possibilities, and connective tissues help stabilize and transmit forces. Yoga asana brings these systems together through controlled movement, loading, stretching, balance, and breathing.
Consider a simple standing forward fold.
You might describe it as bringing your hands toward the floor. Anatomically, however, several things are happening. Your hips flex, your spine changes position, your hamstrings influence the available range of motion, and your pelvis must move in relation to your femurs.
If your hamstrings have limited extensibility, asking you to force your fingertips to the floor does not automatically improve the pose. It may simply encourage compensation elsewhere.
This is where functional anatomy becomes useful.
Instead of asking, “Does this posture look correct?” you can ask:
- What movement is the student trying to perform?
- Which joints need to move?
- Which muscles are producing or controlling that movement?
- Where is the student compensating?
- Can the same objective be achieved with a different variation?
This approach creates more adaptable teaching.
For broader context about professional yoga teaching standards, you can also explore Yoga Alliance and its role within the yoga teaching community.
Anatomical knowledge also helps you communicate more clearly. Rather than saying “push harder,” you may guide a student to create space, reduce range, stabilize a joint, or change the position of a limb.
That difference matters.
Good alignment is not about making every body look identical. It is about helping each person move toward an appropriate objective with control, awareness, and reasonable load.
Understanding Muscles and Joints in Yoga Alignment
Your muscles and joints work together rather than operating as separate systems. For yoga teachers, understanding this relationship is more useful than memorizing isolated anatomical names.
Muscles Create and Control Movement
Muscles are responsible for producing movement, but their role can change depending on the posture.
A muscle may contract to create movement, hold a position, or control movement while lengthening. In yoga, all three situations can appear within the same practice.
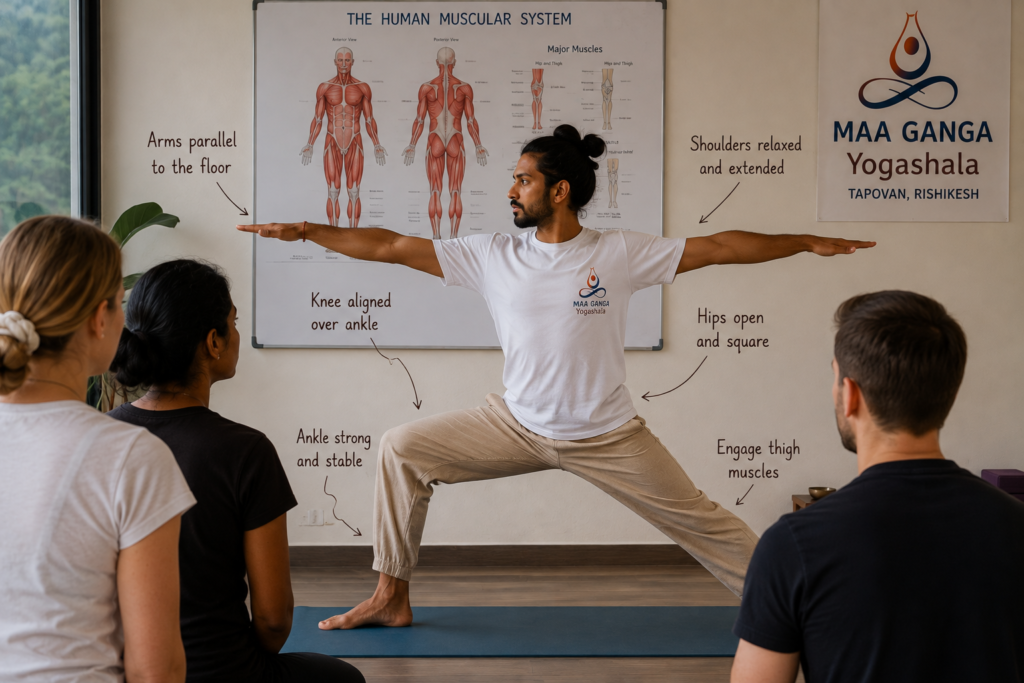
Take Warrior II.
Your quadriceps help maintain knee extension and support the position. Your hip muscles contribute to positioning and stability. Muscles around your trunk help maintain an upright torso while your shoulders and arms remain organized.
Now consider lowering into a squat.
Your quadriceps and gluteal muscles contribute to controlling the descent and producing the return to standing. The muscles around your ankle, knee, and hip must coordinate to maintain balance and distribute forces.
The practical lesson is simple: a muscle is not merely “on” or “off.” Its function depends on the movement, joint position, load, and task.
Joints Determine Available Movement
A joint is where two or more bones meet, but different joints provide different movement possibilities.
The shoulder, for example, permits substantial movement in multiple directions. The knee primarily supports flexion and extension, although it also permits smaller amounts of rotation depending on its position.
This matters when you teach alignment.
If you demand that every student place their knees, hips, shoulders, and hands into exactly the same visual arrangement, you may ignore differences in bone structure, proportions, mobility, and previous movement experience.
A useful teacher therefore studies movement patterns rather than chasing a single visual shape.
For example, in a seated forward fold, two students can have completely different ranges of hip flexion because of differences in skeletal proportions and soft-tissue characteristics.
Neither student necessarily needs to “fix” their body.
Your responsibility is to help each student understand what they can control and how to practice within an appropriate range.
For additional perspective on yoga’s historical and cultural development, Britannica provides useful background resources.
Safe Yoga Alignment: Why One Perfect Shape Does Not Exist
One of the biggest mistakes in yoga teaching is treating alignment as a universal template.
A photograph can show you what a pose looks like. It cannot tell you exactly what is happening inside every student’s body.
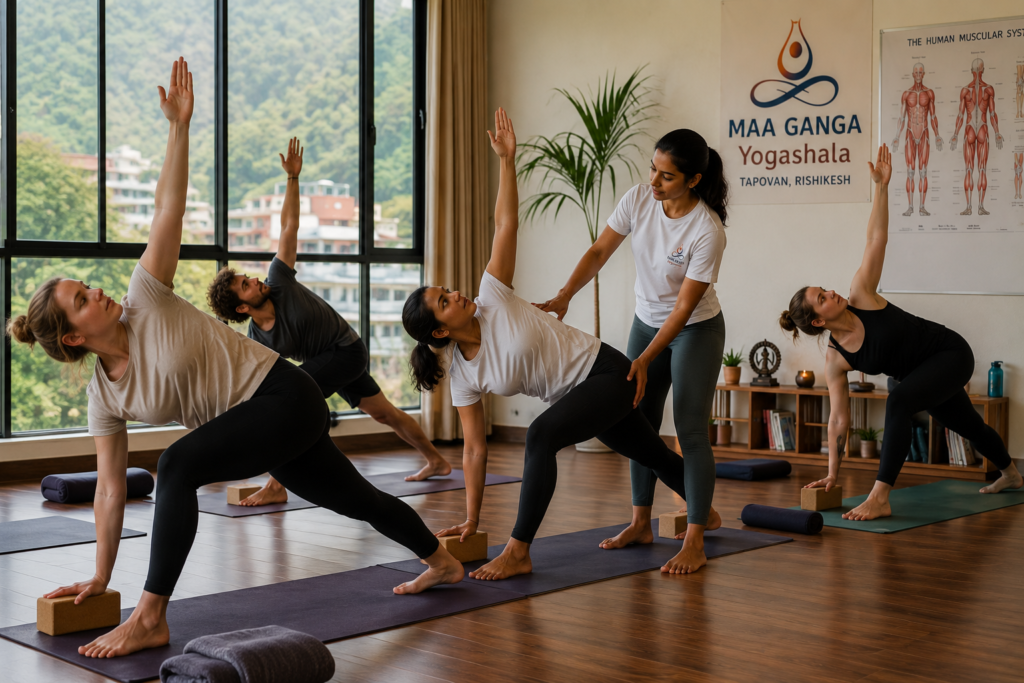
Imagine two students performing Triangle Pose.
One student may naturally place the hand near the floor while maintaining a comfortable relationship between the hips, spine, and legs. Another may need a block because reaching toward the floor causes the torso to rotate excessively.
If you insist that both students touch the floor, you may turn an optional visual goal into an unnecessary physical demand.
Alignment Should Serve the Objective
Instead of asking whether a pose looks perfect, identify the purpose of the movement.
Is the goal:
- strengthening the legs?
- improving balance?
- exploring hip mobility?
- creating a rotational movement?
- developing body awareness?
- preparing for another posture?
Once the objective is clear, you can modify the posture without losing its purpose.
A block is not a sign of failure. A bent knee is not automatically incorrect. A smaller range of motion is not necessarily inferior.
Props and variations can make practice more accessible while allowing students to focus on the intended movement.
Pain Is Not a Teaching Tool
You should never use pain as proof that a student is progressing.
There is an important difference between effort, muscular fatigue, mild stretching sensations, and pain. Students also experience sensations differently, so teachers should avoid diagnosing the cause of pain during class.
If a movement causes sharp, persistent, unusual, or concerning pain, the sensible response is to stop or modify the movement and encourage appropriate professional assessment when necessary.
Your role is to teach yoga, not diagnose injuries.
This principle is particularly important when teaching mixed-level groups, where one sequence may be performed by beginners, experienced practitioners, older students, or people returning to movement after a break.
Applying Yoga Anatomy muscles joints alignment teachers to Common Asana Patterns
Anatomy becomes genuinely useful when you can apply it to movements you teach regularly.
Forward Bending
Forward bends involve hip flexion and often spinal movement.
A common teaching error is assuming that limited hand-to-floor reach automatically means poor flexibility. Your ability to reach the floor can be influenced by hamstring extensibility, hip structure, limb proportions, spinal movement, and the relationship between your pelvis and femurs.
For many students, bending the knees slightly can reduce unnecessary tension and make the movement easier to control.
Backward Bending
Backbends require coordinated extension across different parts of the body.
If movement is limited in one region, another region may compensate. For example, excessive emphasis on creating a dramatic curve in the lower back may occur when movement is not adequately distributed through the hips, thoracic spine, shoulders, or other relevant areas.
A teacher should therefore focus on controlled movement and the student’s overall experience rather than chasing maximum depth.
Twisting
Twists involve rotation of the trunk and coordination between the spine, pelvis, ribs, shoulders, and hips.
A deeper twist is not automatically a better twist.
You may create a more useful practice by maintaining steady breathing, reducing the range, or adjusting the position of the pelvis rather than forcing rotation.
Weight-Bearing Through the Hands
Plank, Downward-Facing Dog, Crow, and other arm-supported poses place load through the hands, wrists, elbows, shoulders, and trunk.
Your teaching should account for the student’s current capacity.
Hand position, wrist comfort, shoulder control, and gradual progression can make a significant difference. A student who cannot comfortably bear weight through the wrists may benefit from modifying the pose rather than repeatedly forcing the same setup.
This is one reason anatomy should be connected with teaching methodology. Knowing anatomical terminology is useful, but knowing how to respond to an actual student’s movement is far more valuable.
If you want to explore the broader teaching skills involved in structured training, our 100-Hour Yoga Teacher Training in Rishikesh provides a focused route for developing your practice and teaching foundation.
Why Rishikesh? Why Anatomy Matters in Teacher Training
Rishikesh gives you a distinctive environment for studying yoga because practice and teaching are closely connected with the city’s wider yoga culture.
When you train in a place where yoga is practiced by people from different countries, ages, physical backgrounds, and experience levels, you quickly discover that there is no single “yoga body.”
One student may have exceptional shoulder mobility but limited hip mobility. Another may be strong but relatively inflexible. Someone else may have excellent balance but little experience with weight-bearing poses.
This variety makes anatomy practical.
If you are considering teacher training in Rishikesh, look beyond whether a course simply lists “anatomy” in its syllabus. Ask how deeply the subject is connected to asana practice, teaching methodology, observation, sequencing, modifications, and student safety.
You should ideally leave training able to explain why you are giving a particular instruction, not merely repeat a memorized cue.
A useful anatomy class should help you connect concepts such as:
- joint actions with specific asanas;
- muscle function with movement patterns;
- alignment with individual structure;
- mobility with stability;
- technique with appropriate progression.
You can also compare practical considerations around Yoga Teacher Training flexibility requirements before assuming you need an advanced physical practice to become a competent teacher.
The strongest teachers continue learning after certification. Anatomy is not something you “finish.” Your understanding becomes more refined as you observe more bodies, teach more classes, and learn how different students respond to the same movement.
Build Your Anatomy Knowledge Before You Teach
You do not need to memorize every muscle attachment before your first teaching practice.
You do need a reliable framework.
Start with the major movement categories: flexion, extension, abduction, adduction, rotation, and circumduction. Then learn which major joints participate in common yoga movements.
Next, study major muscle groups that repeatedly appear in asana practice.
Your next step should be observation.
When you practice a posture, notice what moves first, where you feel muscular effort, whether you can breathe comfortably, and whether changing the range or using a prop changes the experience.
Then observe others.
You will notice that two people can perform the same posture with different-looking shapes while both maintaining useful control.
As your teaching experience grows, improve your questions.
Instead of immediately correcting a student, ask what they feel. Watch how they enter and exit the posture. Check whether a modification improves control or comfort.
This does not replace formal anatomical education. It complements it.
At a structured teacher-training environment, you can combine theoretical study with supervised practice. Our 200-Hour Yoga Teacher Training in Rishikesh is one option if you want to develop anatomy, asana, teaching methodology, and related foundations in a residential training setting.
If you are not ready for a longer teacher-training program, a shorter retreat can still give you dedicated time to deepen your personal practice. Our 5-Day Yoga Retreat in Rishikesh offers a shorter format for focused practice.
FAQs
Do yoga teachers need to study anatomy?
Yes, a working understanding of anatomy is highly valuable for yoga teachers. You do not need the depth of a medical professional, but you should understand basic joint movements, major muscle actions, alignment principles, movement variations, and appropriate modifications.
The goal is not to diagnose conditions. It is to teach movement more intelligently and recognize when a posture may need adjustment.
What is the most important anatomy concept for a beginner yoga teacher?
Start with movement rather than memorizing long lists of anatomical terms.
Understand how the hips, shoulders, spine, knees, ankles, and wrists move in common asanas. Then learn how major muscle groups contribute to those movements.
Once you understand the relationship between movement and structure, anatomical terminology becomes easier to remember.
Is perfect alignment necessary in yoga?
No single visual alignment works perfectly for every body.
Alignment should be connected to the purpose of the posture, the student’s structure, their movement capacity, and their ability to perform the pose with reasonable control.
A modification that changes the shape but improves the student’s experience can be a better teaching choice than forcing a standardized position.
Can you learn yoga anatomy during a 200-hour teacher training?
Yes. Anatomy is commonly included within comprehensive teacher-training education, although the depth and teaching approach vary between schools.
If anatomy is important to you, examine the curriculum before enrolling. Look for practical application rather than only theoretical terminology.
Can yoga anatomy help prevent injuries?
Anatomical knowledge can support safer teaching by helping you understand movement, loading, range of motion, and individual differences. However, anatomy knowledge does not guarantee that injuries will never occur.
Good teaching also requires appropriate progression, communication, observation, modifications, and respect for individual limitations.
Conclusion: Turn Anatomy Knowledge Into Better Teaching
Understanding yoga anatomy muscles joints alignment teachers work with gives you something more valuable than the ability to name muscles: it gives you a better way to observe movement.
You begin to understand why one student needs a block while another does not. You recognize that deeper is not automatically better. You learn to distinguish between the visual appearance of a posture and the actual movement objective behind it.
That shift can make your teaching more adaptable, precise, and responsible.
If you are ready to develop these skills through structured study and practical yoga education, explore our 200-Hour Yoga Teacher Training in Rishikesh and take the next step toward becoming a more confident teacher.
For a shorter commitment, you can also explore our 3-Day Yoga Retreat in Rishikesh and use the time to reconnect with your practice.
The aim is not to make every body fit the same pose.
The aim is to understand the body well enough to teach the person in front of you.