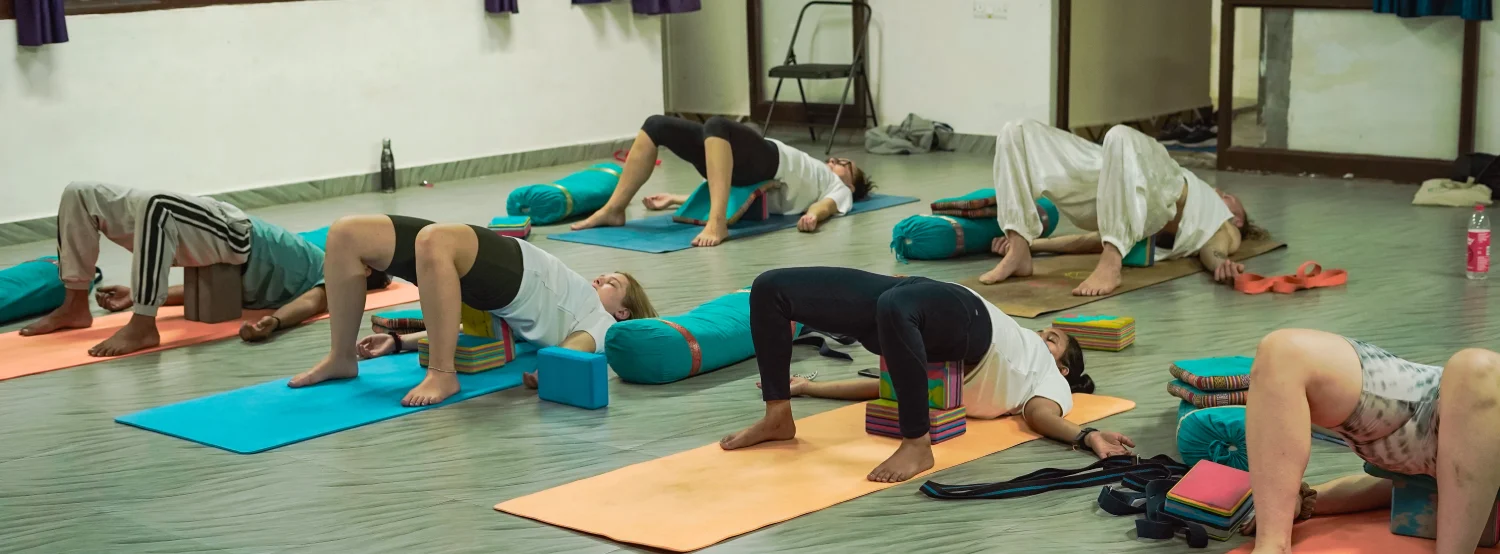

standing yoga poses benefits technique: Benefits, Safe Practice and 7 Common Mistakes to Avoid
Introduction
The standing yoga poses benefits technique you learn today can change how you stand, move and maintain balance throughout your day. But there is a catch: standing taller or stretching deeper does not automatically mean you are practising correctly.
Standing postures are a fundamental part of many yoga styles, from traditional Hatha Yoga to dynamic Vinyasa sequences. They challenge your leg muscles, encourage coordination and teach you to distribute your body weight with greater awareness.
Whether you are a complete beginner, an experienced practitioner or someone who spends hours sitting at a desk, these asanas can help you build a more consistent practice.
The key is understanding what each posture does, how to enter and exit it safely, and which alignment mistakes to avoid.
In this guide, you will learn seven useful standing poses, their potential benefits, step-by-step techniques, breathing guidance and practical modifications. You will also discover how to build a balanced routine and when to seek guidance from an experienced yoga teacher.
You do not need exceptional flexibility to begin. You need patience, attention and a willingness to work within your current abilities.
1. Standing Yoga Poses: Benefits, Technique and Why They Matter
Standing postures combine muscular effort, balance, joint movement and body awareness. Unlike seated poses, they require you to manage your body’s relationship with gravity while keeping your feet connected to the ground.
The main benefits of standing yoga asanas
1. Better lower-body strength
Poses such as Warrior II and Chair Pose engage your quadriceps, glutes and other muscles that support your legs and hips. Practising with controlled alignment can improve muscular endurance over time.
2. Improved balance and coordination
Tree Pose and Warrior III challenge you to maintain stability while changing your base of support. Regular practice can develop balance skills, although progress depends on your starting ability, consistency and the difficulty of the exercises.
3. Greater body awareness
Standing poses encourage you to notice how your feet, knees, hips and spine relate to one another. This awareness can help you recognise unnecessary tension and make more controlled movement choices.
4. Functional mobility
Poses such as Triangle Pose involve movement through the hips and trunk. With appropriate modifications, they can help you explore your comfortable range of motion without forcing a stretch.
5. Focus and controlled breathing
Holding a posture while maintaining steady breathing gives you a practical way to practise attention. If your breath becomes strained, it may be a sign to reduce the intensity or shorten the hold.
Standing poses may support physical fitness and well-being, but they are not a guaranteed treatment for back pain, anxiety or other medical conditions.
For background on yoga’s broader physical and mental health applications, explore the research literature through PubMed’s medical research database.

2. Seven Standing Yoga Poses for Beginners: Correct Technique
You can practise these seven asanas individually or combine them into a short sequence. Start with a wall or chair nearby if you need extra stability.
1. Tadasana (Mountain Pose)
Main focus: Posture, grounding and body awareness.
How to practise:
- Stand with your feet hip-width apart or together if comfortable.
- Distribute your weight across your heels, the base of your big toes and the base of your little toes.
- Keep your knees relaxed rather than forcefully locked.
- Lengthen your spine and allow your shoulders to settle naturally.
- Keep your chin level and breathe steadily for five to eight breaths.
Common mistake: Pushing your chest forward, arching your lower back or shifting your weight entirely onto your heels.
Modification: Stand with your back near a wall to help you notice your alignment.
Mountain Pose looks simple, but it establishes the foundation for many other standing postures.
2. Vrikshasana (Tree Pose)
Main focus: Balance, concentration and standing-leg stability.
How to practise:
- Stand tall and transfer your weight gradually onto your left foot.
- Place your right foot against your left ankle or calf.
- Avoid pressing the foot directly against the side of your standing knee.
- Bring your hands together at your chest or raise them overhead if stable.
- Hold for three to five comfortable breaths, then change sides.
Common mistake: Forcing the raised foot higher than your balance allows or gripping your toes excessively.
Modification: Keep your toes on the floor with your heel resting against your opposite ankle. You can also touch a wall lightly.
Tree Pose is about controlled balance, not achieving the highest possible foot position.
3. Virabhadrasana II (Warrior II)
Main focus: Leg strength, hip mobility and postural control.
How to practise:
- Stand with your feet wide apart.
- Turn your right foot outward and angle your left foot slightly inward.
- Bend your right knee while keeping your left leg active.
- Aim to align your right knee with the direction of your right toes.
- Extend your arms sideways, keep your shoulders relaxed and look over your right hand.
- Breathe steadily before repeating on the other side.
Common mistake: Allowing the front knee to collapse inward, forcing an excessively deep bend or leaning your torso too far forward.
Modification: Shorten your stance and bend your front knee less.
Your stance should feel stable, not strained. Adjust the distance between your feet to suit your proportions and mobility.
4. Trikonasana (Triangle Pose)
Main focus: Hip mobility, lateral trunk movement and balance.
How to practise:
- Take a wide stance and turn your right foot outward.
- Extend both arms sideways.
- Move your hips slightly back and reach your right hand forward.
- Place your right hand on your shin, a yoga block or a sturdy support.
- Extend your left arm upward only as far as comfortable.
- Keep both sides of your torso long and breathe naturally.
Common mistake: Reaching for the floor by rounding your back or locking your front knee forcefully.
Modification: Use a block and reduce the depth of the pose. Your hand does not need to reach the floor.
5. Utkatasana (Chair Pose)
Main focus: Lower-body strength and muscular endurance.
How to practise:
- Stand with your feet parallel and comfortably spaced.
- Bend your knees and move your hips back as if approaching a chair.
- Keep your weight distributed through your feet.
- Raise your arms forward or overhead without shrugging your shoulders.
- Maintain a comfortable spinal position and hold for three to five breaths.
Common mistake: Dropping too deeply, lifting your heels or allowing your lower back to arch excessively.
Modification: Perform a shallow bend with your hands on your hips. A wall behind you can provide support.
6. Prasarita Padottanasana (Wide-Legged Forward Fold)
Main focus: Hamstring mobility and a controlled forward hinge.
How to practise:
- Stand with your feet wide apart and keep them parallel or slightly turned inward.
- Place your hands on your hips.
- Hinge forward from your hip joints while keeping your spine comfortably long.
- Place your hands on blocks, a chair or the floor.
- Bend your knees slightly if your hamstrings feel tight.
- Return to standing slowly, using your legs and hips to control the movement.
Common mistake: Forcing your head toward the floor or rounding your back to increase the stretch.
Modification: Keep your hands elevated and bend your knees as needed.
Avoid deep forward folds if your healthcare professional has advised against them or if they aggravate an existing condition.
7. Virabhadrasana III (Warrior III)
Main focus: Balance, hip stability and whole-body coordination.
How to practise:
- Begin standing with your feet hip-width apart.
- Shift your weight onto your right foot and soften your right knee.
- Hinge forward at your hips while extending your left leg behind you.
- Keep your torso and raised leg moving toward a comfortable horizontal line, if your mobility permits.
- Extend your arms forward, sideways or backward according to your balance.
- Hold briefly, return to standing with control and change sides.
Common mistake: Rotating the hips excessively, lifting the back leg too high or holding your breath.
Modification: Keep your fingertips against a wall or place your hands on a sturdy chair.
For a beginner, a smaller range of motion with steady breathing is more useful than a dramatic shape achieved through compensation.
3. How to Practise Standing Yoga Poses Safely
Correct technique is more than copying a pose’s external appearance. Your body proportions, previous injuries, strength and mobility all affect how a posture should be adapted.
Warm up before deeper postures
Begin with three to five minutes of gentle movement. You might march in place, roll your shoulders, move your ankles and practise comfortable hip movements.
Follow with Mountain Pose and a few shallow knee bends before attempting longer holds.
Coordinate movement with breathing
Breathe naturally throughout your practice. You can inhale while lengthening your spine and exhale while settling into a posture, provided the movement feels comfortable.
Do not hold your breath to maintain a challenging position. If you cannot breathe comfortably, reduce the depth or come out of the pose.
Choose the right duration
A beginner may start with three to five breaths in each posture, resting between poses when needed. There is no requirement to hold a pose for a fixed duration if your technique deteriorates.
Over time, you can gradually increase the duration or repeat the sequence, provided your body tolerates the added workload.
Respect your individual limitations
Stop if you experience sharp pain, dizziness, chest discomfort or unusual shortness of breath. Seek appropriate medical advice for persistent symptoms.
People with recent injuries, balance disorders, uncontrolled medical conditions or significant joint limitations may need individual guidance before practising challenging standing poses.
Yoga is not a competition. Adjusting a posture is a practical skill, not a sign of failure.
For additional injury-prevention principles, explore our guide to yoga injury prevention and safe practice.
4. Seven Common Mistakes in Standing Yoga Poses
Even experienced practitioners can develop habits that reduce the quality of their practice. Paying attention to these common errors can make your sessions more productive.
Mistake 1: Forcing flexibility
Trying to reach the floor in Triangle Pose or Wide-Legged Forward Fold can encourage poor alignment.
Better approach: Use blocks, bend your knees and move only within a comfortable range.
Mistake 2: Locking the knees
Forcefully straightening the knees can make a posture feel rigid, particularly during prolonged standing.
Better approach: Keep your legs active without pushing the joints backward.
Mistake 3: Ignoring foot placement
Unstable foot placement can affect your balance and the way your knees track during a pose.
Better approach: Establish a comfortable stance before bending or twisting. Adjust your feet whenever the position feels unstable.
Mistake 4: Holding your breath
Breath-holding often accompanies excessive effort and makes it harder to recognise when you need to rest.
Better approach: Use steady, natural breathing as a guide to your effort level.
Mistake 5: Comparing your posture with others
Different body proportions, training histories and mobility levels produce different-looking poses.
Better approach: Focus on stability, comfortable movement and consistent technique rather than matching another person’s shape.
Mistake 6: Skipping modifications
Avoiding blocks or wall support can turn a manageable exercise into an unnecessarily difficult one.
Better approach: Use props when they improve stability or reduce strain.
Mistake 7: Rushing out of the pose
Suddenly straightening the legs or changing direction can disrupt balance, particularly after a demanding hold.
Better approach: Exit slowly, regain a neutral standing position and take a breath before continuing.
If you are practising without a teacher, consider recording your alignment from the side or front, where appropriate, to notice obvious positioning differences. A qualified instructor can offer more reliable feedback than a photograph alone.
5. Why Rishikesh Is a Meaningful Place to Learn Standing Yoga
Rishikesh, in Uttarakhand, has a long-standing association with yoga, spiritual study and pilgrimage. Its yoga schools attract Indian and international students who want to explore physical practice alongside breathing techniques, meditation and yogic philosophy.
The setting can be appealing, but the location alone does not guarantee high-quality instruction. The teaching approach, safety standards, class size and suitability of the curriculum matter more than the scenery.
When choosing a yoga programme in Rishikesh, look for instructors who explain modifications, observe individual students and encourage questions about alignment. Ask whether beginners are welcome and whether the schedule provides enough time for rest and practice.
A structured course can also help you understand how standing postures fit into a complete session rather than treating each asana as an isolated exercise.
If you are exploring a shorter stay, our five-day yoga retreat in Rishikesh is one option to investigate when planning your practice around a visit.
You can also read about Hatha Yoga fundamentals in a 100-hour teacher training programme to understand why foundational posture work matters.
6. Learn Standing Yoga with Maa Ganga Yogashala
Developing a safe yoga practice takes more than memorising pose names. You benefit from understanding alignment, breathing, modifications and how to adapt postures to different levels of experience.
At Maa Ganga Yogashala, located on Badrinath Road in Tapovan, Rishikesh, you can explore structured yoga learning in an environment associated with the Ganga River and Himalayan foothills.
If you want to build a stronger foundation, our 200-hour yoga teacher training in Rishikesh is worth exploring for a more comprehensive study of yoga practice and teaching.
Before enrolling, review the curriculum, daily schedule, accommodation arrangements and instructor qualifications to make sure the programme suits your goals.

7. FAQs About Standing Yoga Poses
Which standing yoga pose is best for beginners?
Tadasana, or Mountain Pose, is a useful starting point because it helps you practise foot placement, posture and body awareness. Tree Pose can follow with wall support. Start with simple movements before progressing to more demanding balances.
How long should you hold a standing yoga pose?
You can begin with three to five comfortable breaths per pose. The appropriate duration depends on the posture, your experience and your physical condition. Prioritise controlled movement and steady breathing over longer holds.
Can standing yoga poses improve balance?
Yes, balance-focused postures such as Tree Pose and Warrior III can help you practise coordination and stability. Improvement depends on consistent practice, the difficulty of the exercise and your starting ability. Use a wall or chair if you feel unsteady.
Are standing yoga poses suitable for older adults?
Many standing postures can be adapted for older adults, but the right approach depends on mobility, strength, medical conditions and fall risk. Chair-supported variations and guidance from a qualified instructor may be appropriate.
Can you practise standing yoga every day?
Gentle standing postures may fit into a daily routine if you tolerate them well. Vary the intensity, allow recovery when needed and avoid practising through pain. A shorter, well-controlled session is preferable to repeatedly forcing difficult positions.
Conclusion: Build a Stronger Practice One Pose at a Time
Understanding the standing yoga poses benefits technique means learning how to combine strength, balance, breathing and comfortable alignment rather than simply copying a posture.
Start with Mountain Pose, practise the foundational techniques described above and progress gradually toward more challenging asanas. Use props when necessary, respect your physical limitations and seek qualified guidance if you are unsure about your alignment.
If you want to develop a deeper understanding of standing postures within a structured yoga curriculum, explore our 200-hour yoga teacher training in Rishikesh.
Take the next step toward a more informed and consistent practice with Maa Ganga Yogashala. Review the course details, find a programme that matches your goals and begin with a commitment to safe, mindful movement.